Connecting the NC100 to a Mac
Connecting the NC100 to a Mac requires the following:
A USB-C to Serial adaptor. I have a Prolific Technologies PL2303-based cable, which is supported by driver software available for free from the Mac App Store.
A Null-modem adaptor and gender changer. These may be bundled with your cable.
Communications software. I use minicom, installed via the Homebrew package manager. You will also need xmodem helper tools for minicom: install lrzsz, also available from Homebrew.
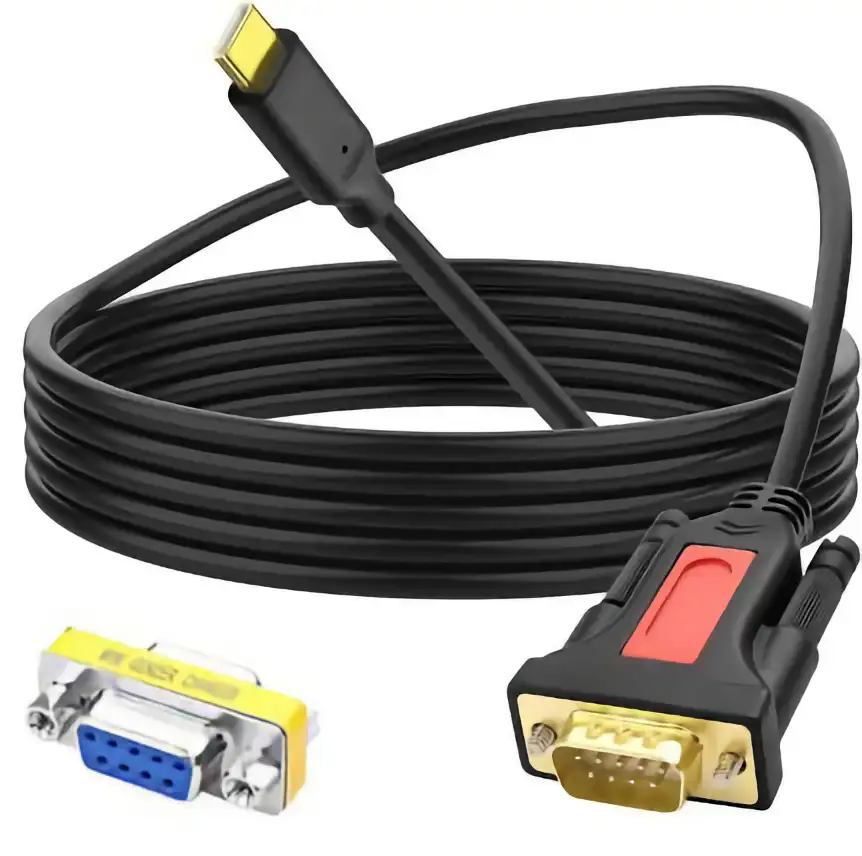
PL2303-based USB-to-serial adaptor cable
Setup
Install the software pre-requisites:
brew update && brew install minicom lrzsz.Connect the serial adaptor to the NC100 and the Mac.
On the Mac, run
minicom -D /path/to/adaptor -b 9600.Hit Option-O and select File transfer protocols:
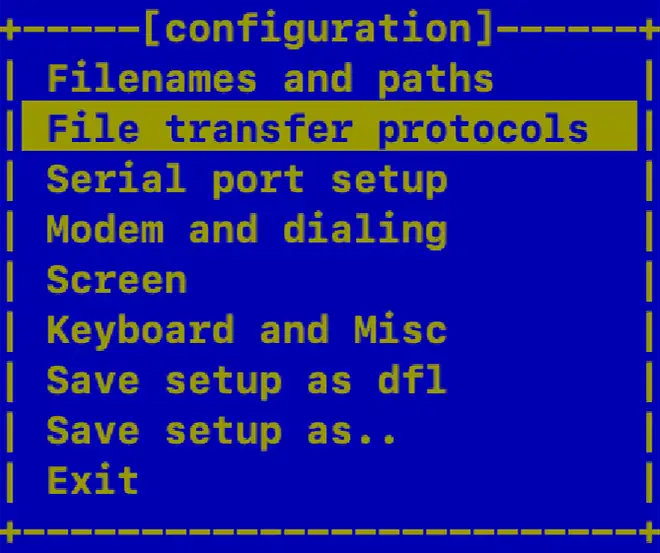
The minicom setup menu
Type the letter to the left of the first xmodem entry, and use the Return key to step from one field to the next. Make sure the entry’s Program value is set to
lrz -vfor receive andlsz -vfor send, and the U/D entry is set to U for send and D for receive.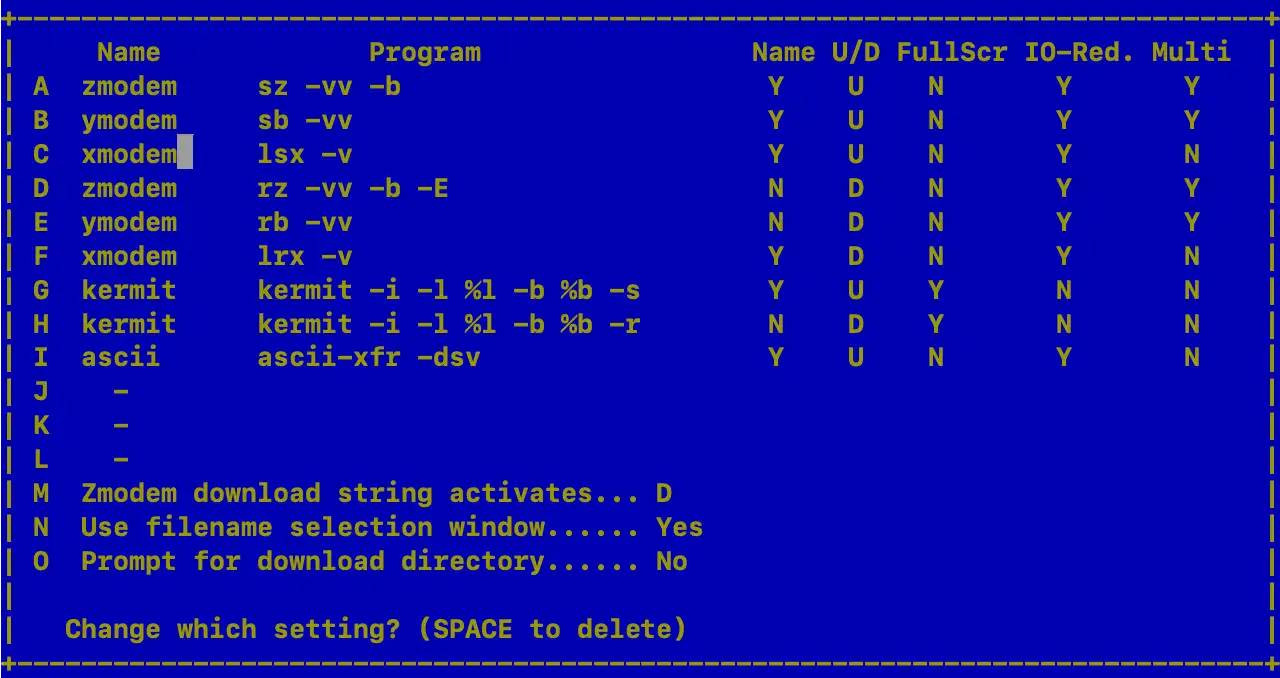
The minicom file transfer setup UI
Press Esc to go back when you’re done and then select Exit.
Note
You can use my dlist utility to get the Unix path to the adaptor device:
minicom -D $(dlist) -b 9600.
It runs on both macOS and Linux.
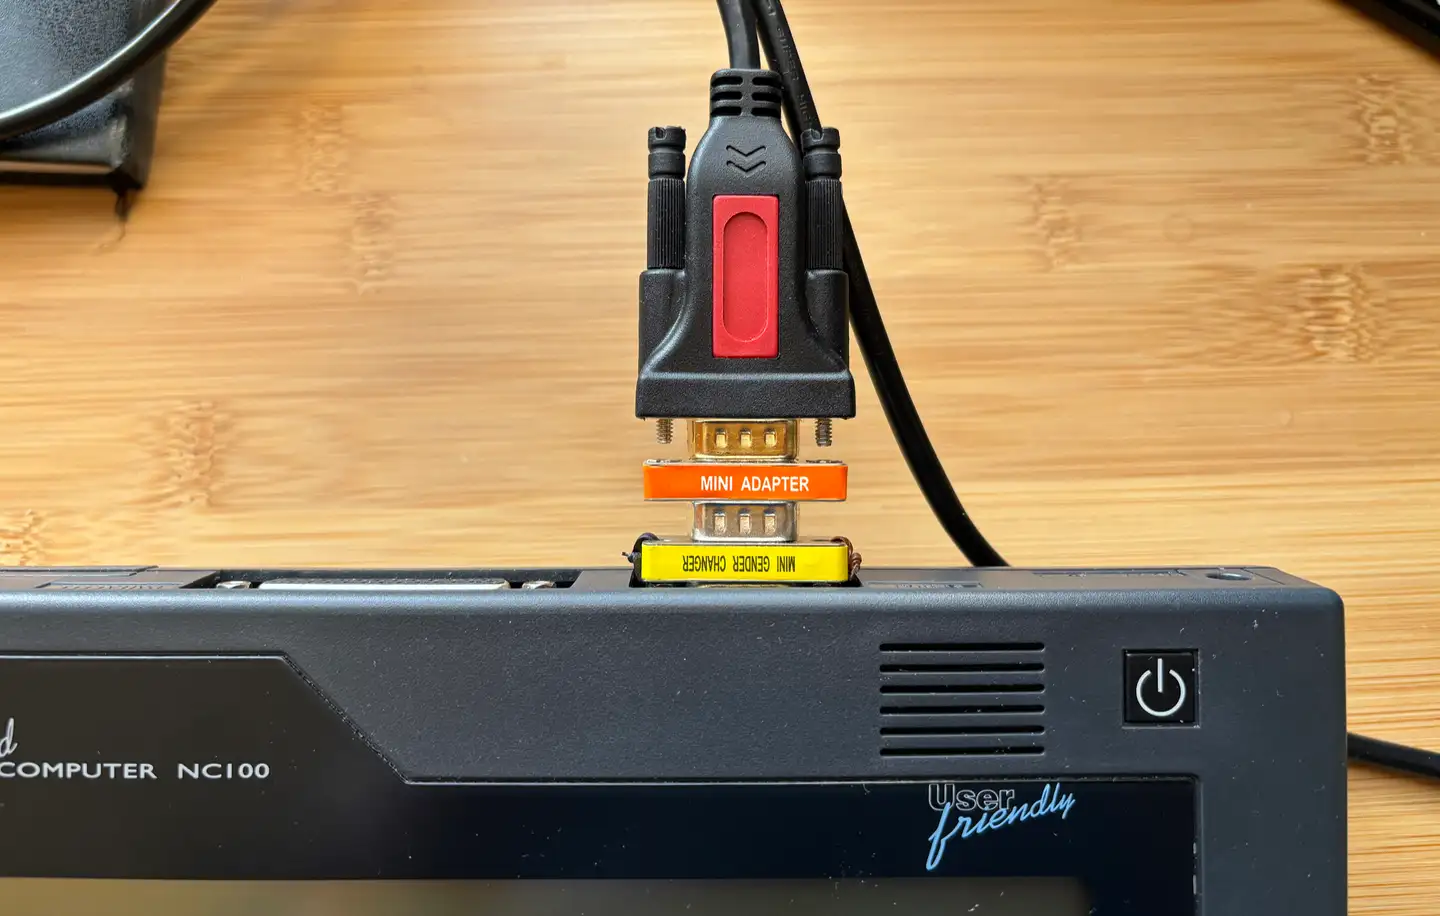
The serial adaptor in place on the NC100. Note the orange null modem converter to connect the correct pins, and the yellow gender changer
Transfer: Receive
On the Mac, with
minicomrunning, hit Option-R.Select xmodem.
Enter the new file’s name and hit Return.
Power on the NC100, and hit Function-L.
Select the file you want to send and press Secret Menu to get the document options menu:

The NC100 document options menu
Hit T to bring up the file transfer options menu:

The NC100 file transfer menu: xmodem send
Hit X to initiate xmodem send.
When the transfer has taken place, press Stop on the NC100, power off and remove the cable.
Note
There is always a brief pause of 2-8 seconds before transfer begins. This is because modern xmodem software expects the use of CRCs for transmission error checks, but the NC100 does not support this method. At the end of the pause, your comms software should fall back to using checksums, which the NC100 does support.
Transfer: Send
On the Mac, with
minicomrunning, hit Option-S.Select xmodem.
Use the UI to locate and select the file you want to send, and select Okay.
I usually select Goto and enter the target directory. When this is shown, I move the cursor down the file, hitSpaceto tag it, then select Okay to send.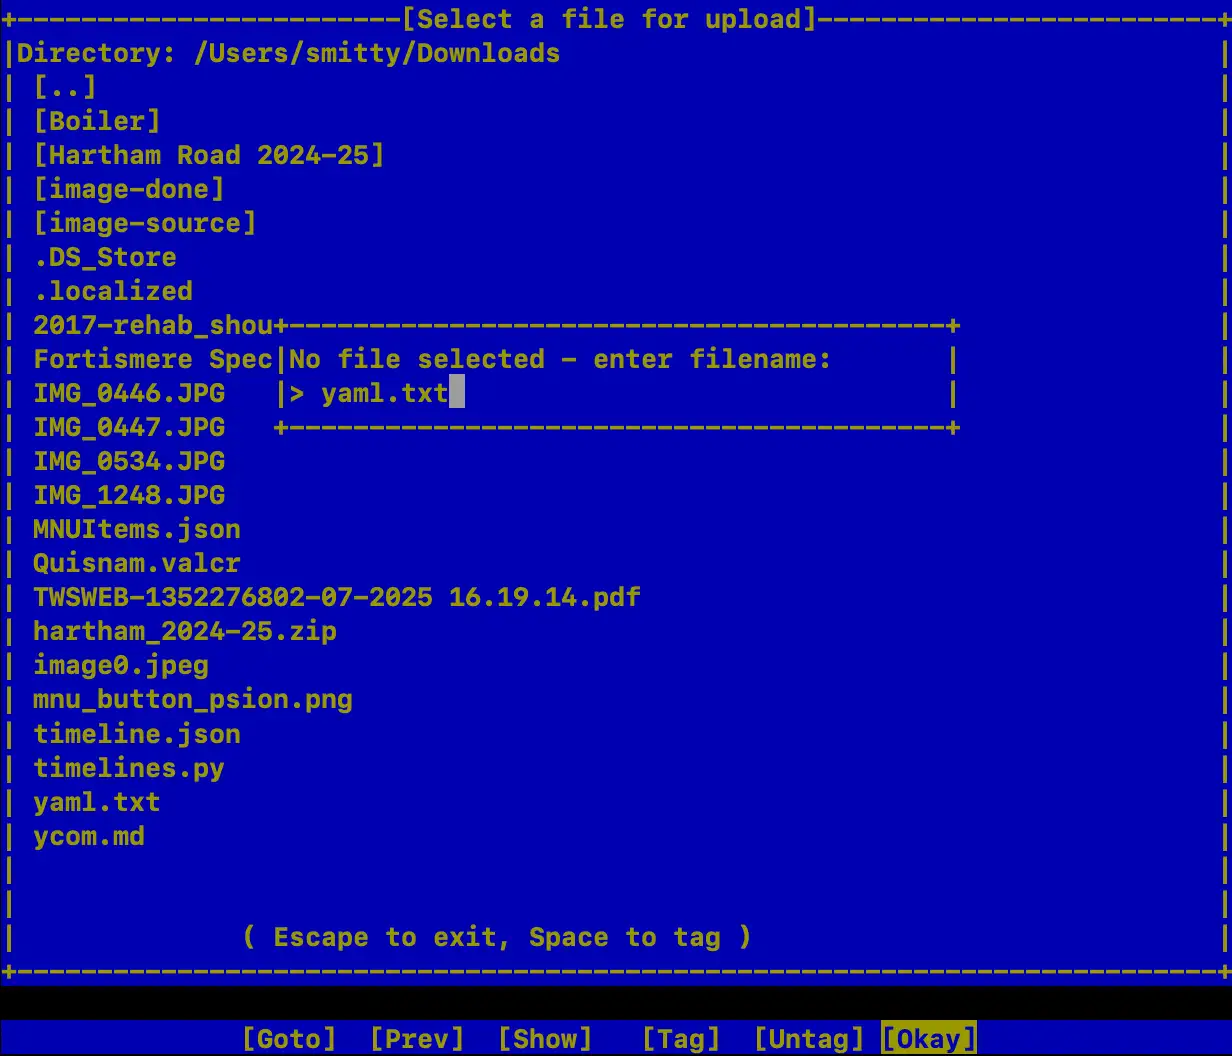
The minicom file selection UI
Minicom will tell you to start the transfer on the connected machine:
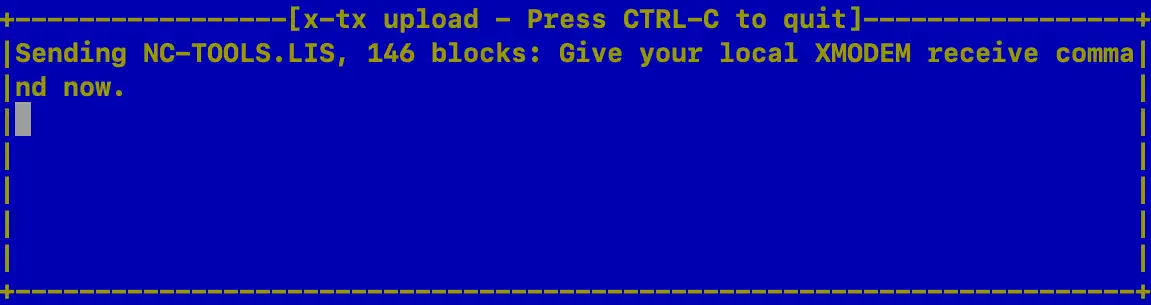
The minicom prepare to send warning
Power on the NC100, and hit Function-L.
Hit Secret Menu to get the document options menu.
Type T to bring up the file transfer options menu:

The NC100 file transfer menu: xmodem receive
Type m to select xmodem receive.
Enter the new file’s name and hit Return.
When the transfer has taken place, press Stop on the NC100, power off and remove the cable.